You like riding your bike, but at times it doesn’t seem to like you when you experience:
Discomfort
Numbness / Tingling
Painful Joints
Chronic Muscle Soreness
Injury
Fortunately, these issues can likely be mitigated with a bike fit, which is a strategic sequence of bike adjustments to optimally fit your bike to you.
Bike Fit Process
Below are the high-level steps of a bike fit to give you an idea on what to expect:
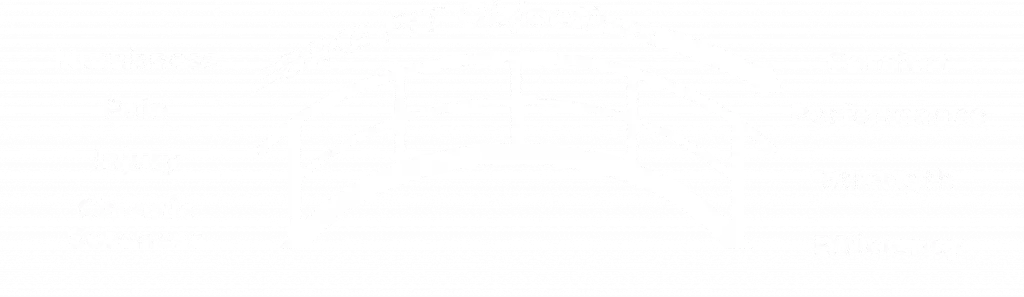
Bike is attached to a stationary trainer.
Joint angles are measured using video analysis software while the person is riding their bike.
Bike components (e.g. seat) are adjusted to obtain joint angle within desired range.
A report is completed to summarize bike fit results.
Body adapts to bike adjustments during initial rides after bike fit.
Changes may include:
Cleat position to optimally position foot on pedal
Shoe insoles for foot support / stability
Joint angles, obtained by changing the bike components such as:
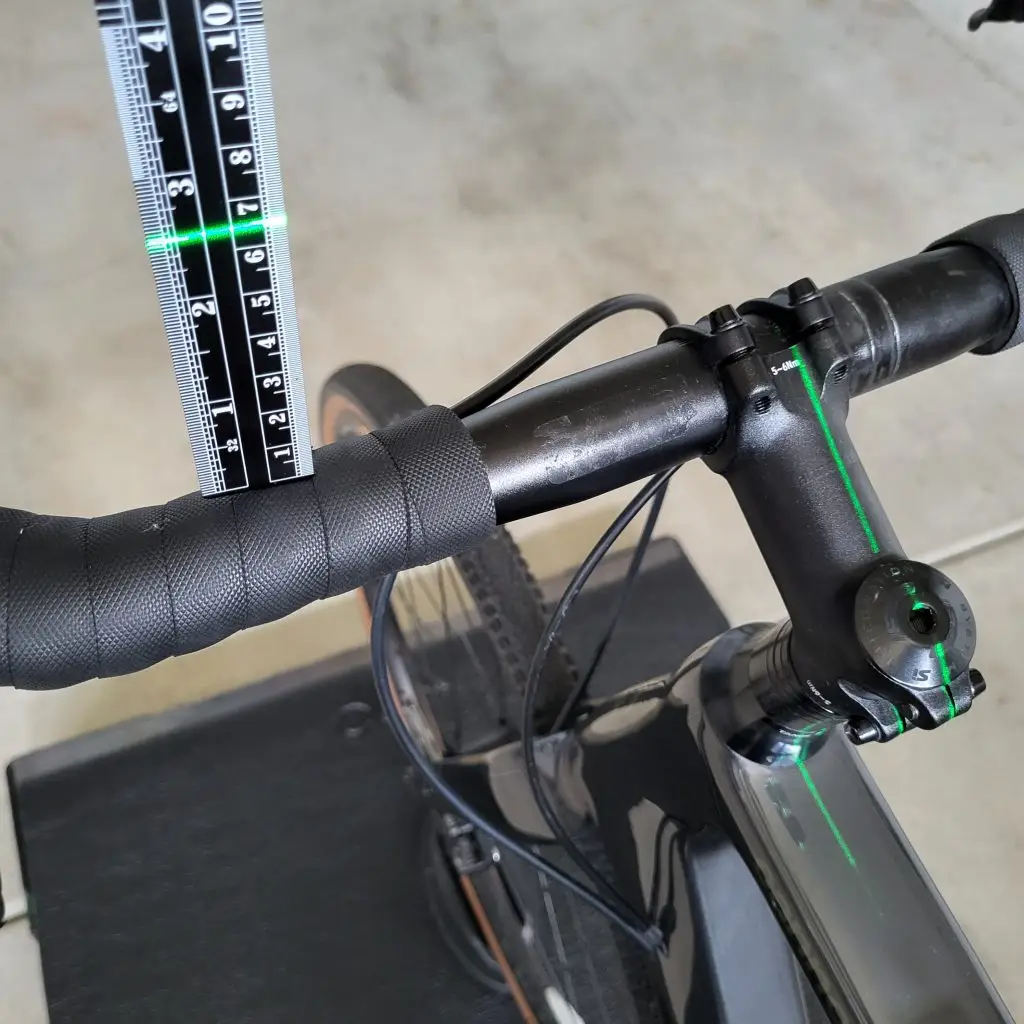
Seat Height, Forward / Rearward Location, and Tilt
Handlebar Height
Stem Length and Angle
Knee Flexion Joint Angle
Ready for Bike Fit
Obtaining Seat Height
Cleat Positioning
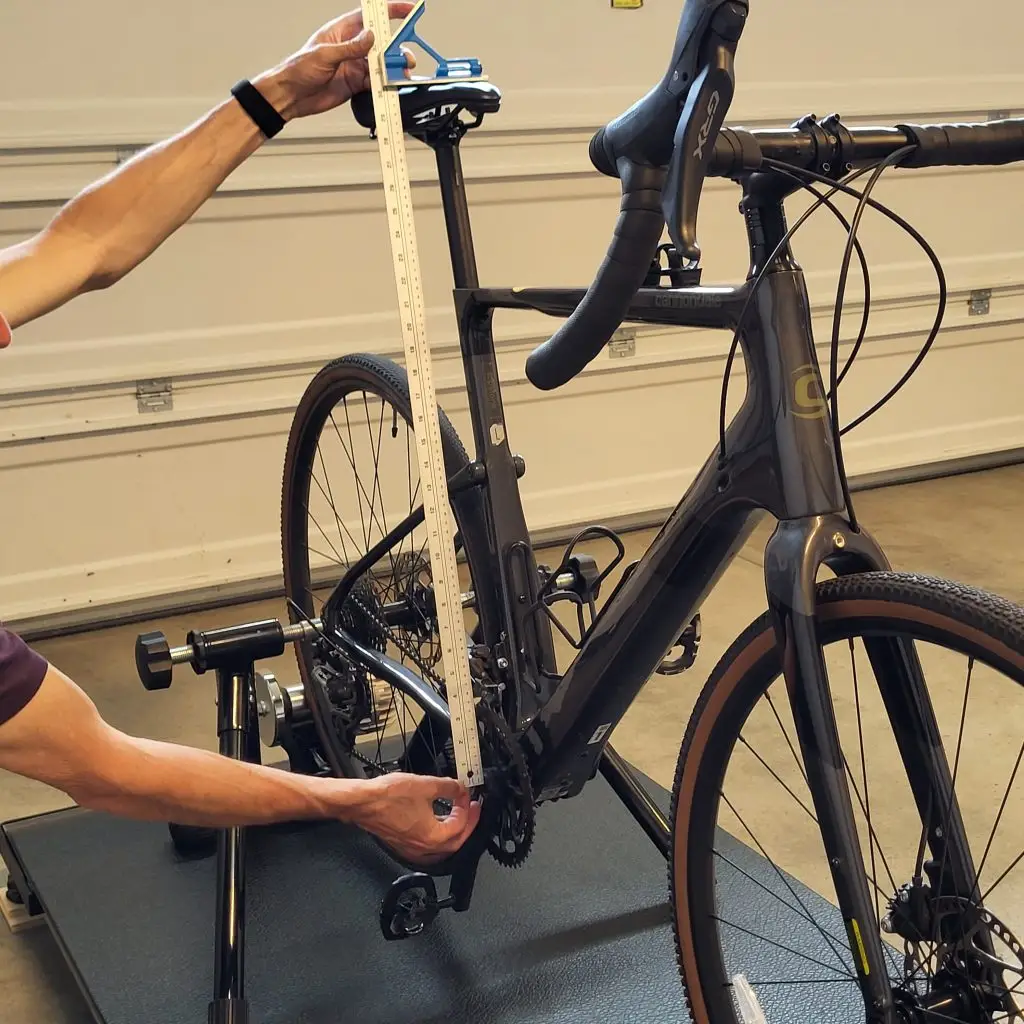
Measuring Handlebar Drop
Adjusting Seat Tilt
Additional Considerations
It’s also important to recognize the following factors which increase the value of a bike fit.
Increased flexibility and strength
Healthy diet
Adequate food/energy source, hydration, and electrolytes during ride
Compensating for unique anatomical conditions (e.g. orthotics)
Good padding in shorts and gloves, and correct foot support to improve stability
Good riding technique
Light grip on handlebars
Relaxed shoulders, not rolled / hunched over
Bend maintained in elbows
Proper gearing / efficient cadence to avoid excessive forces on body joints